Creating a Dragster activity 2/3
Dropzone
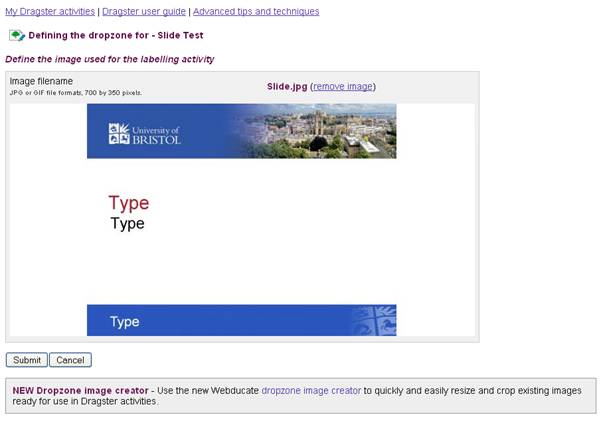
The 'My Dragster 2 activities' list is the main interface to adjust, manage and export your activity. From this screen if we select the option from the column headed drop zone next to the appropriate activity we can upload the background image that forms our assessment. Once uploaded the screen will preview your image -

There is nothing more to this section than a simple upload but it requires thought and preparation of the relevant image. The files must be JPG or GIF file formats, 700 by 350 pixels. Your image will appear next time you select this dropzone option on this activity.
Adding Labels
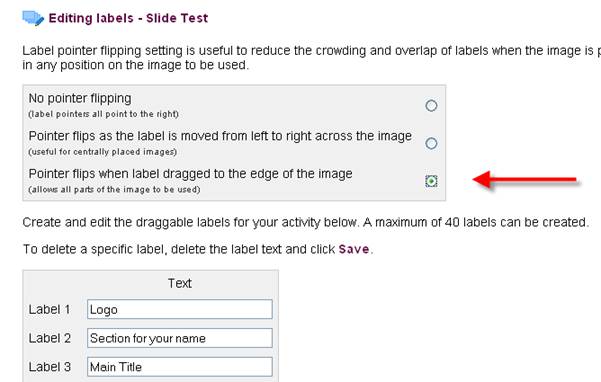
- If we select the 'Add/ Edit elements' option from the relevant activity's' column we can add the specific labels we want our students to place on the drop zone (image).

- The following screen allows us to assign terms to labels, these terms will form the basis of drag and drop exercises. It is suggested you always select the third option in terms of pointer flipping to use the maximum space available.

Defining the placement of Labels
Where your devised labels need to be placed is defined by the 'feedback' column next to the relevant activity.

- For each label you will need to define a placement area. Select the define target icon.

- There are three stages to setting the feedback for a drag label:
- Defining the area which is correct.
- Defining the area which is considered close but not correct.
- Setting the correct position for the label.
At the bottom of the area definition screen is a box that allows you to choose
between these methods.

The define target area interface needs to be adjusted to.
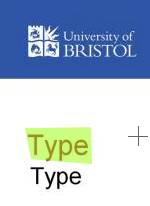
- Simply click on each corner of the area you want to target and the system in order of clicking will create an inner shape (in green) which will be the targeted placement area.

It can a good idea to enlarge the area slightly to allow for clumsy placement by the student. The completed area will look like this:

You can also define an area as 'close' if you wanted to provide guidance or even an exact correct position.
- Select Finish
NOTE: For this task I will only be defining a correct area. So we can now define the areas for all of the labels. This is the last step before publishing the materials.
