Creating using Timeline 2.0 1/2
Open up the following page in a web browser: http://www.learningtools.arts.ubc.ca/timeline.htm
- Select the Start Authoring tab
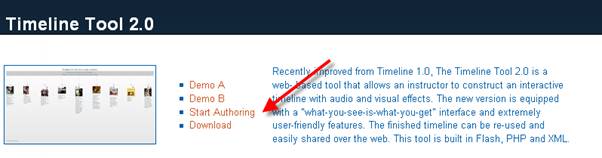
- This takes you to the log in or new project screen, on the log in screen you can Start a new timeline -
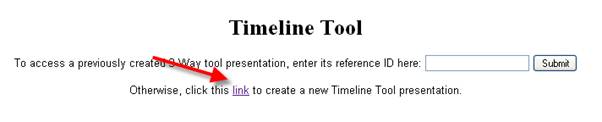
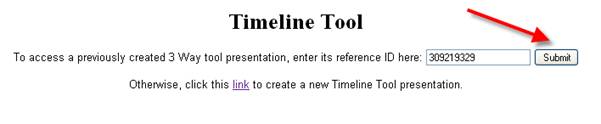
- Or from this screen you can access an existing timeline. If we take the code 309219329 (which is an access code for an existing project) and enter it as the ID reference and this will take you to the project build screen of an existing timeline.
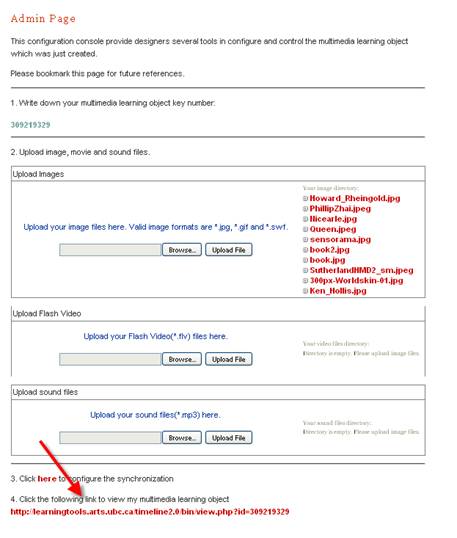
- The page after submitting this code is the authoring interface where you can upload media and also access a synchronized preview.
At the bottom of the page is the 4th item in a list. This hyperlink is the address of your timeline. You will need this to embed and view your learning object.
Now we a have accessed the timeline we will on the next page look at some of its features.
WARNING!!! As you can see there is no password protection to viewing or authoring this content. DO NOT USE sensitive information within this tool and always back up your timeline projects.