|
|
Creating an Image Map
- Open the website www.image-maps.com
- You can choose to use an image from the web using its URL but we recommend not from your PC. This means the picture has to be accessible from one of the University's online servers.

- Upload a picture you wish to map onto using the Basic Online Image Mapping Tool. Click on Start Mapping Your Image you will then have a short wait whilst you are given a small message.
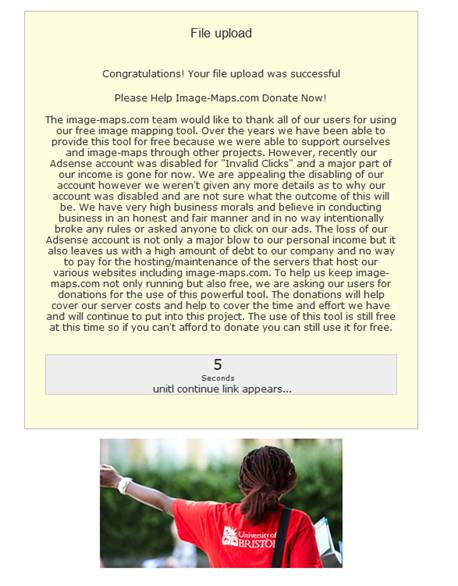
- This next screen presents the image and tells you a little bit about the product. Wait for the upload screen timer to run down. Then Click on Continue to next step.
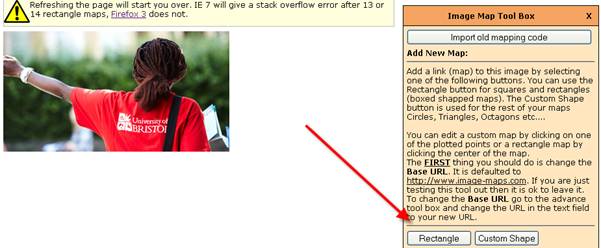
- You can import old mapping code if you are merely replacing the image otherwise. Select either rectangle or custom shape to map your first area
- On the map manually manipulate where you want to map and enter the URL you wish it to link with and text presented to the user. The default will be the image map web address.
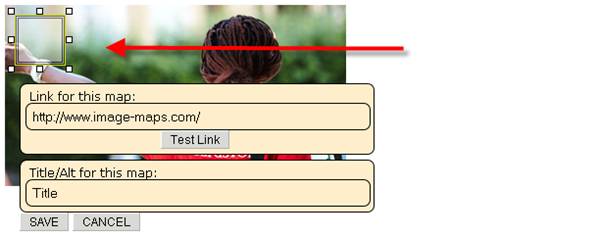
- When details are entered select save.
|