Creating a new scheme
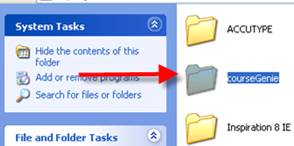
The first thing you will need to do is open the file directory and find Wimba Create within your Program files. To do this you will need administrative access to the machine you are using.
- At University of Bristol this is stored under the previous name 'Course Genie'.
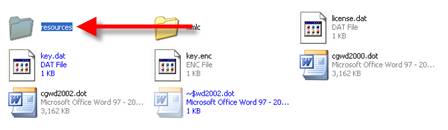
- Select the resources file.
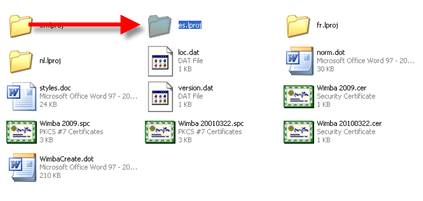
- Then select from within this the en.lproj file. This contains all the schemes with English as their main language.
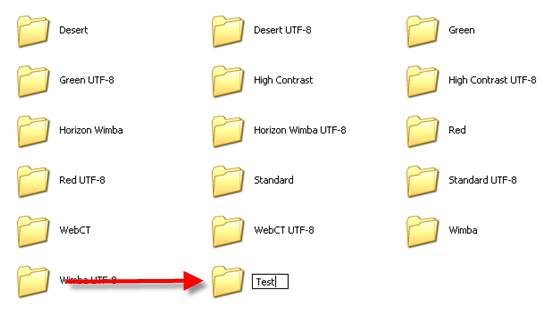
- Then select the schemes folder from this directory
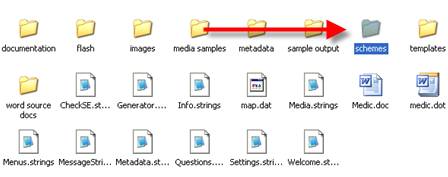
From within this directory we can start to look at changing the schemes.
- Copy your chosen scheme's folder into this directory (it will be now called 'copy of {original name}') and rename it. In this instance I will be copying the 'Standard' scheme and renaming it 'Test'.
- Open up your new schemes folder. Inside are three important files for this exercise. The Info.String , the cg.css and the styles.xml files.

- To make your new scheme accessible to you in Wimba Create you need to change the scheme name, to do this open info.string using Notepad.
Select the file info.string by double clicking on it. Select the radio button "Select the program from a list" Select OK.
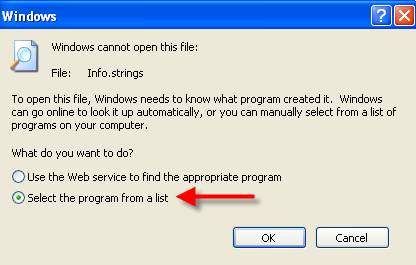
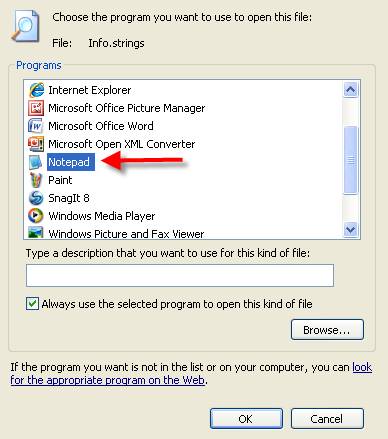
- Select Notepad from the list and select OK
- The file should be presented as follows

- Enter a different name and description for your new scheme. This will now appear in the settings menu of Wimba Create once it has been started in Microsoft Word.

You have now a template and new scheme in which to develop further.